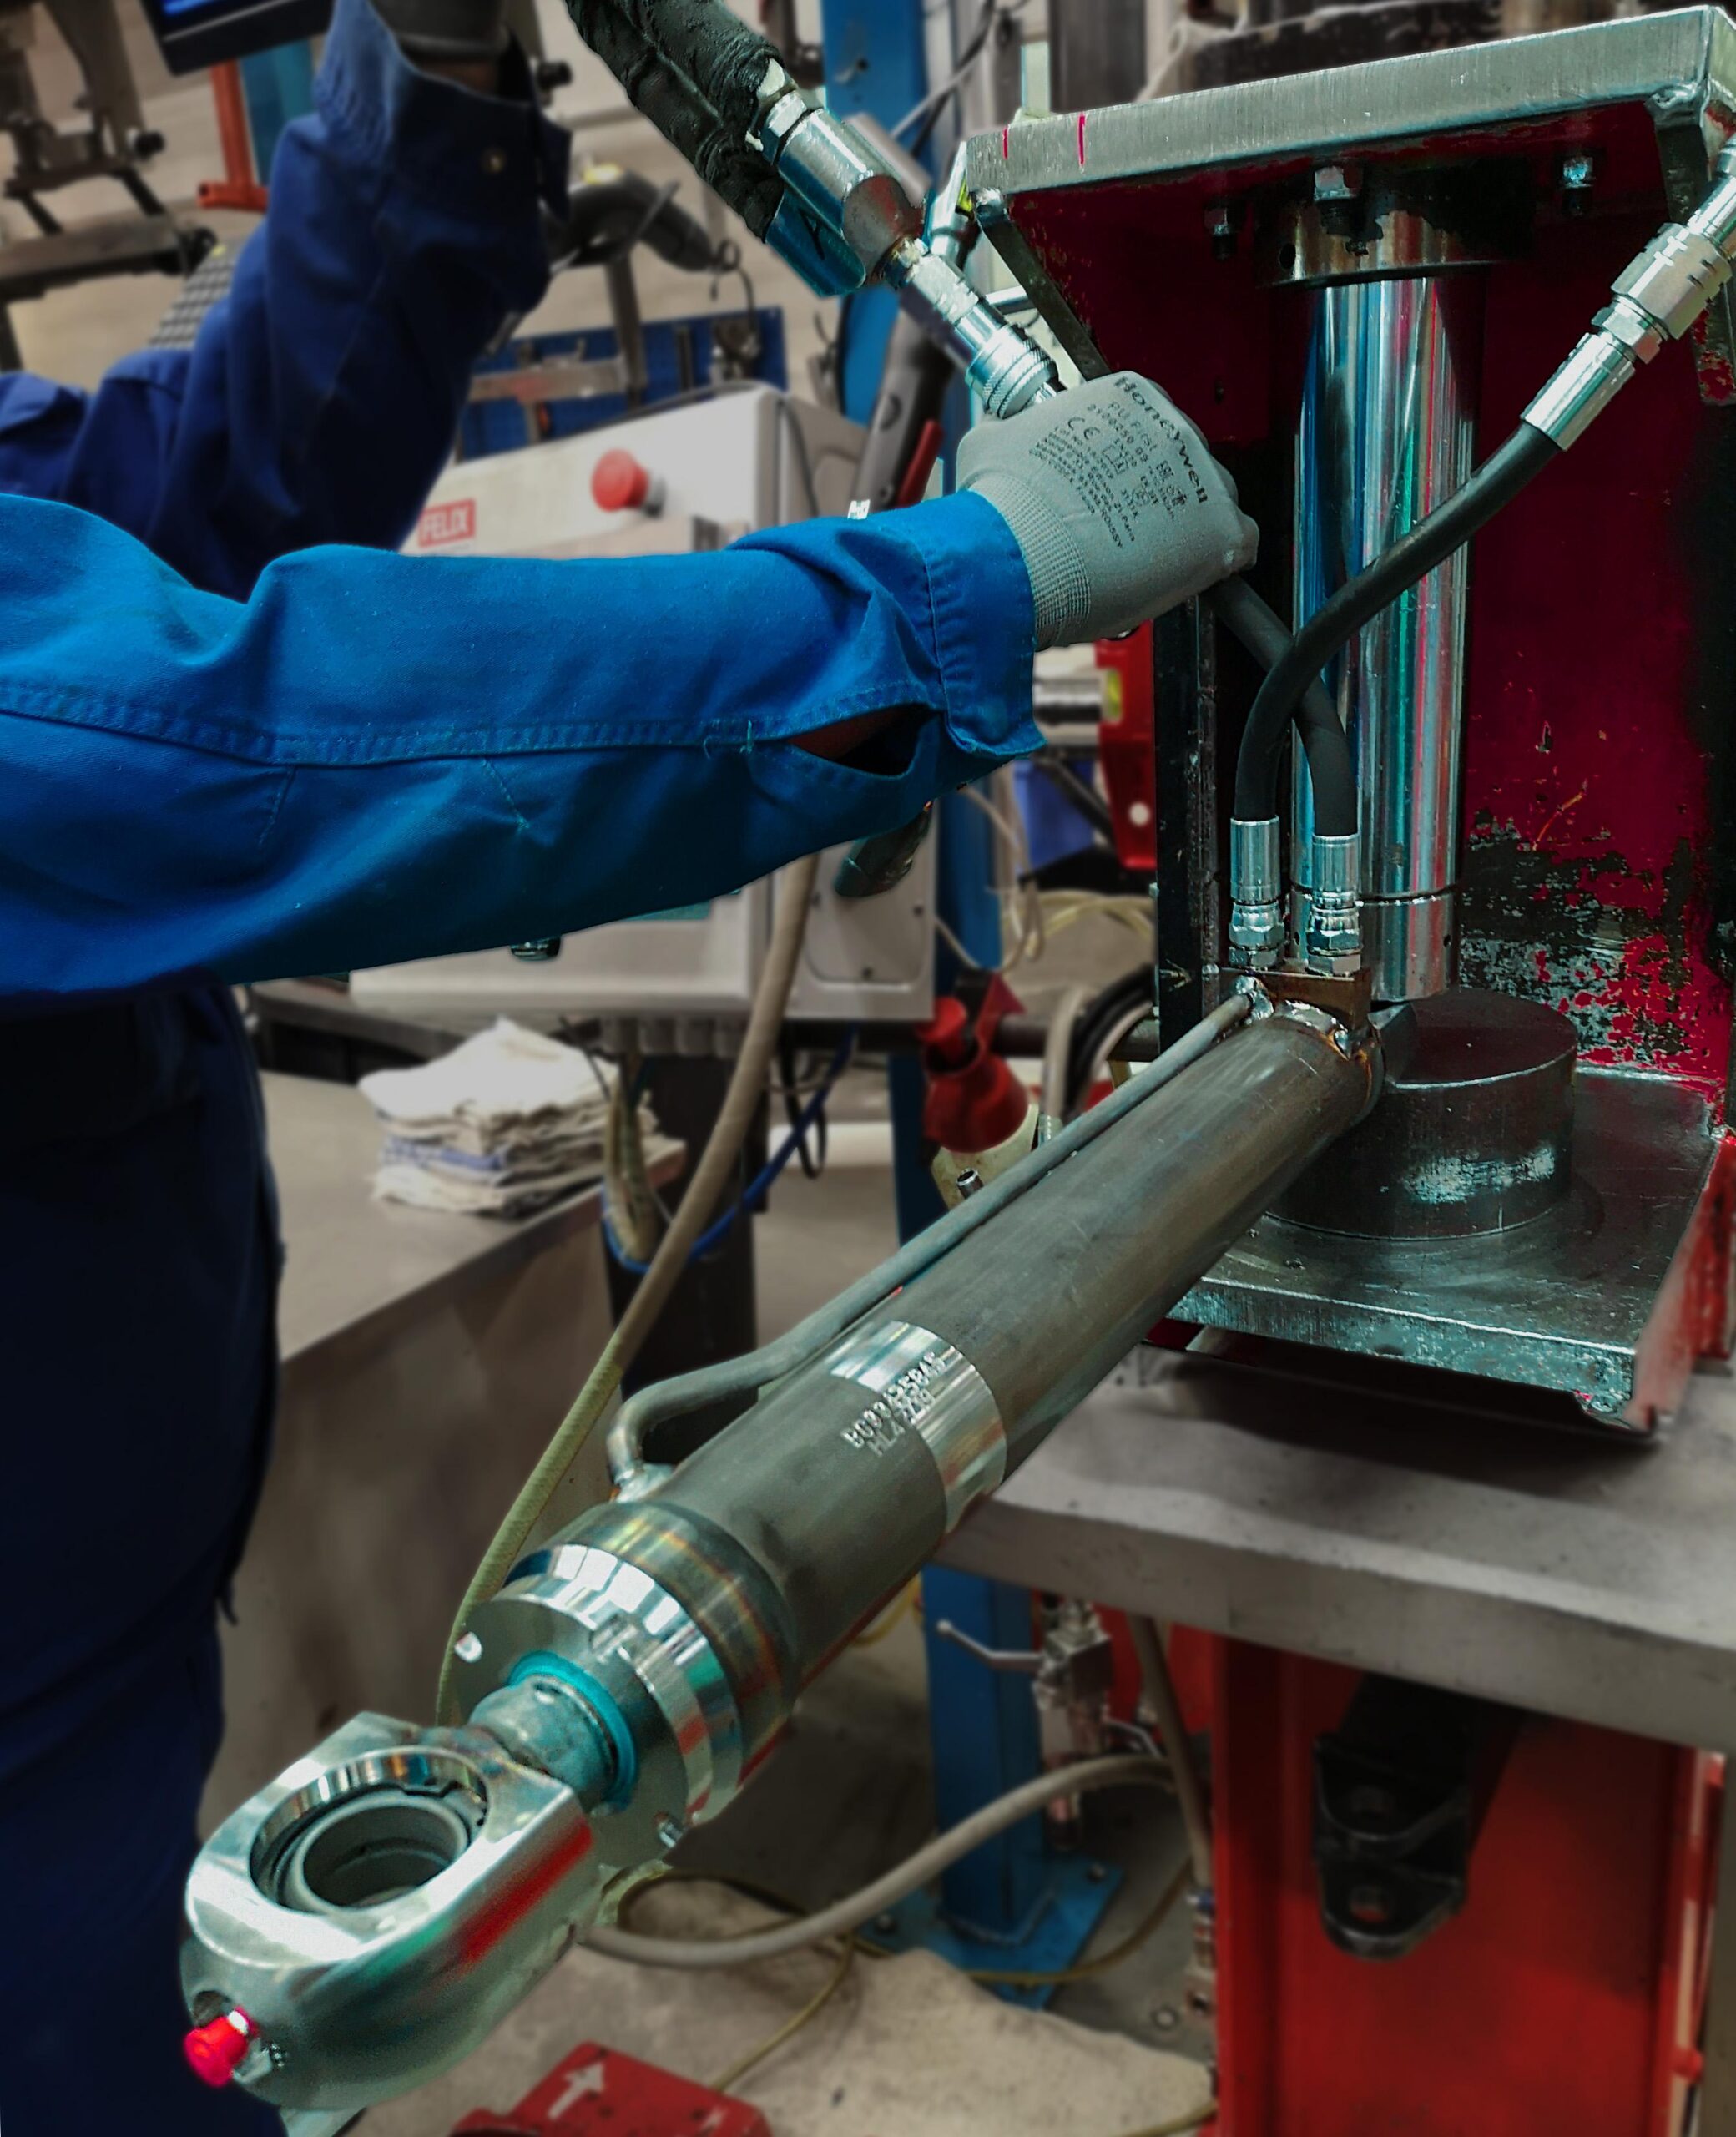
How to proof test hydraulic cylinders?
How to proof test hydraulic cylinders? One of the main tasks in hydraulic cylinder manufacturing is also to make sure the cylinders work like they should. This is why a careful testing is executed for every cylinder before painting and finally delivering to the customer. The purpose of the testing, also known as proof test, is to ensure the safety and functionality of cylinders. As we have mentioned in our previous blogs, many cylinders are safety critical components in a machine. This is why making sure they work properly, is extremely important.
What happens in a proof test?
The basic instructions for a proof test step by step:
1. The cylinder is put to the test bench tightly and securely
2. Hoses are attached to the cylinder’s oil connections or ports
3. Testing pressure is checked from the work order or from the customer’s drawing
4. Worker tells the computer the cylinder’s values (the values differ depending on the cylinder in question) → the computer starts the test
5. During the test, a cylinder makes a specified amount of strokes (as in back and forth motion) → this rinses the cylinder from the inside
6. After the movements have been carried out, the worker starts the actual proof test → the cylinder is first pushed with overpressure rod out and then rod in
7. During the proof test, the welds are inspected in case of any mistakes or leaks in welds or seals
8. After the proof test has successfully been carried out, the pressure is released from the cylinder
Notice: The proof test is done with over pressure (a pressure that is more than the actual usage pressure at the final machine) This is to ensure that all the joints and welds in the cylinder can take the pressure. The internal leaks can be identified from the computer that shows the internal pressure in the cylinder.
When a new product is being tested, a representative from our design department and a supervisor must be present throughout the whole testing sequence. We will tell you more about our new product process in an upcoming blog!

What might be detected in a proof test?
- For example, problem with the welding → In this case, the cylinder needs to be dismantled and necessary repairs are done for the welds.
- An internal leak → There might, for example, be a deviation or mistake in an internal surface which then breaks the cylinders’ seals and causes an internal leak. An experienced worker spots the faults by carefully following the pressure levels: in case the pressure drops too fast, there is something wrong with the cylinder.
Even though, reading the list step by step, it seems quite a simple thing to do, however, a real professional needs to be the one to carry out a successful proof test. At its best, if there is nothing wrong with the cylinder, proof test is quite a short procedure to do. At Hydroline, our employees are trained carefully to spot out any kind of mistakes in the cylinders. We continuously improve our operations in order to increase our quality even further.
All needed information about pressures and amount of motions can be found from the drawings of each cylinder. As mentioned in our previous blogs, the cylinders we manufacture can either be designed by Hydroline’s designers or our customers’ own design team. We always carry out the proof test according to customers’ needs. Our customers also determine whether the oil used in the proof test stays in the cylinder or do we strain it out.
Finally, all testing documents must be filled. These include Hydroline’s own documents and the customers’ documents. After the proof test has been successfully completed, the cylinders are ready for painting and the tester also attached protective covering to the cylinders for painting.


